
CloudEndure allows you to sign into the CloudEndure User ConsoleCloudEndure SaaS User Interface. A web-based UI for setting up, managing, and monitoring the Migration and Disaster Recovery solutions. using your corporate credentials through our SAML integration (SSO).
In order to use SAML to sign into the CloudEndure User ConsoleCloudEndure SaaS User Interface. A web-based UI for setting up, managing, and monitoring the Migration and Disaster Recovery solutions., you must first configure Single Sign-On SAML Authentication.
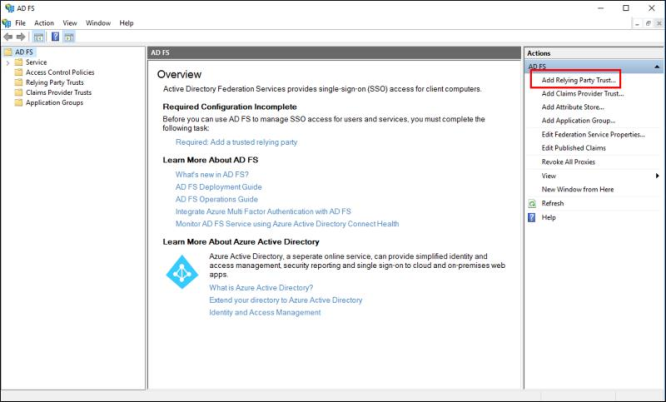
The following instructions illustrate how to configure Single Sign-On SAML Authentication through the Microsoft Active Directory Federated Services (ADFS).
Note: Configuration instructions may differ based on the platform your company uses.
Settings up SAML Authentication for Active Directory requires several steps both within Active Directory and the CloudEndure User ConsoleCloudEndure SaaS User Interface. A web-based UI for setting up, managing, and monitoring the Migration and Disaster Recovery solutions..
Important: The instructions below are accurate to Microsoft Windows Server 2016. Other versions of Windows Server may have a different interface. The instructions represent a third-party interface, which may change without warning. The information provided in this section is for general guidance only. The information is provided on "AS IS" basis, with no guarantee of completeness, accuracy or timeliness, and without warranty or representations of any kind, expressed or implied. In no event will CloudEndure and/or its subsidiaries and/or their employees or service providers be liable to you or anyone else for any decision made or action taken in reliance on the information provided above or for any direct, indirect, consequential, special or similar damages (including any kind of loss), even if advised of the possibility of such damages. CloudEndure is not responsible for the update, validation or support of this information.

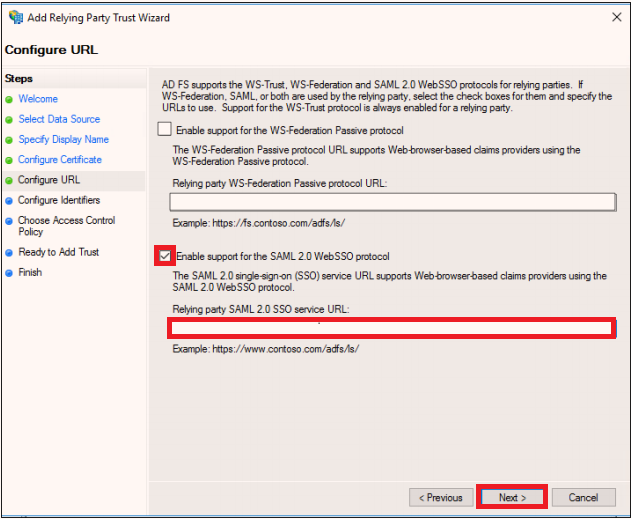
https://console.cloudendure.com/api/v5/assertionConsumerService Note: Alternatively, try https://console.cloudendure.com/api/v4/assertionConsumerService
https://console.cloudendure.com as an identifier for this relying party, click Add to add it to the list, and then click Next. 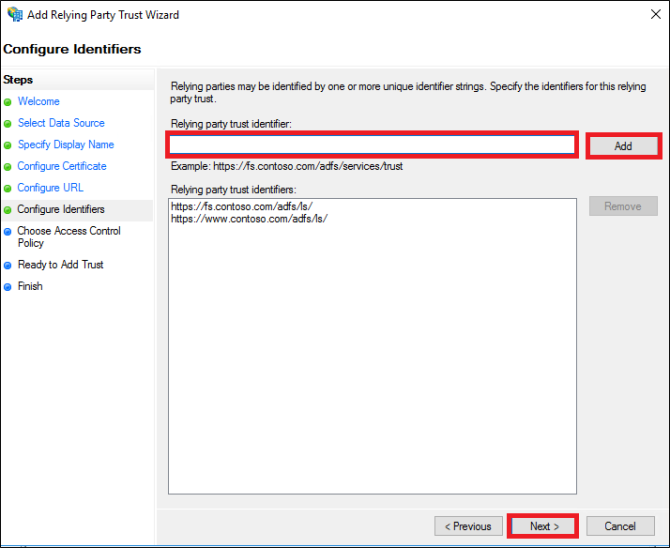
 |
|
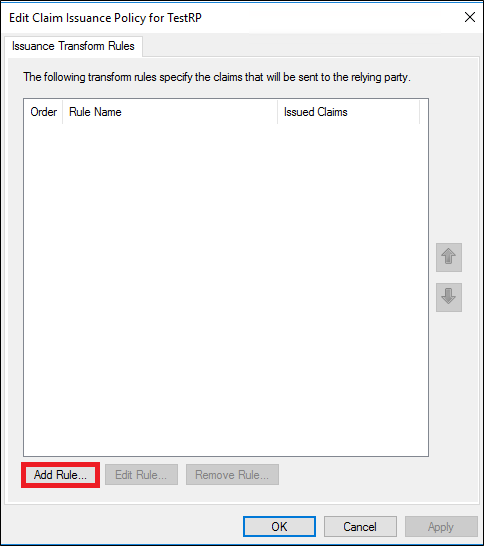
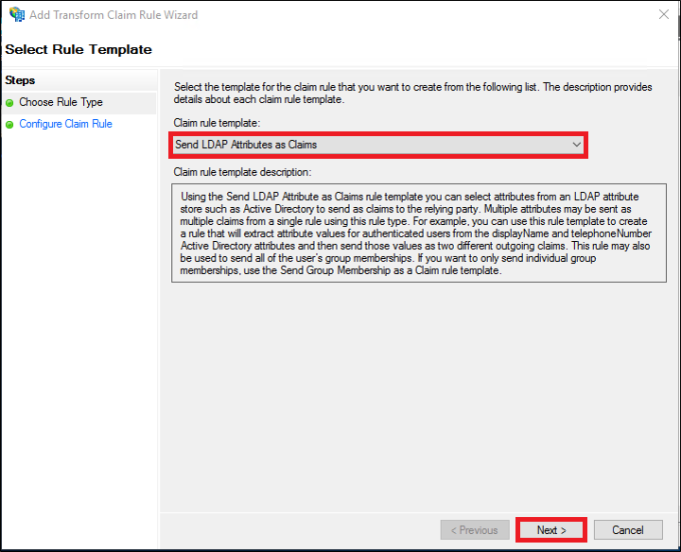
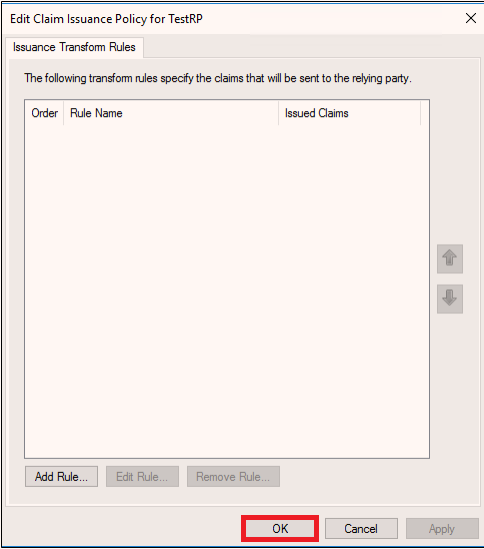
Note: The Edit Claim Rules dialog box can be opened later from the AD FS management console (select the new Relying Party Trust and click on Edit Claim Rules under Actions.)

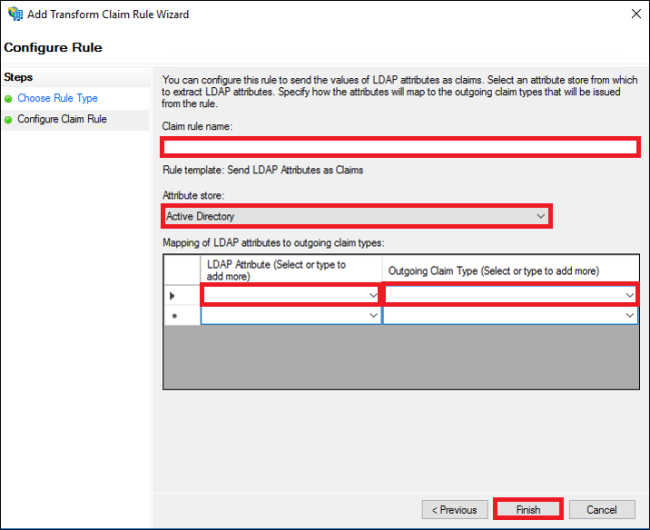
Note: This should be the user's email address, which could be set differently under a separate LDAP attribute.
Note: username is not one of the multiple selection options and should be typed in explicitly.
RelayState is a parameter of the SAML protocol that is used to identify the specific resource the user will access after they are signed in and directed to the relying party’s federation server.
Note: Certain identity management providers, such as OKTA, require users to set the relayState value manually. Input the following value: https://console.cloudendure.com/#/signIn;<CloudEndure account UUID>
For ADFS 2.0, you must install update KB2681584 (Update Rollup 2) or KB2790338 (Update Rollup 3) to provide RelayState support.
%systemroot%\inetpub\adfs\ls\web.config microsoft.identityServer.web section, add a line for useRelayStateForIdpInitiatedSignOn as follows, and save the change: <microsoft.identityServer.web> ...
<useRelayStateForIdpInitiatedSignOn enabled="true" /> ...
</microsoft.identityServer.web> https://<adfs_domain>/FederationMetadata/2007-06/FederationMetadata.xml <EntityDescriptor>, the ID should be in the second line of the XML file (by default http://<adfs_domain>/adfs/services/trust). https://<adfs_domain>/FederationMetadata/2007-06/FederationMetadata.xml <IDPSSODescriptor>/ <KeyDescriptor use=”signing”>/ <KeyInfo>/ <X509Data>/ <X509Certificate>/adfs/ls/) http://<adfs_domain> to it to get the Identity Provider URL. on the top-right hand side of the User ConsoleCloudEndure SaaS User Interface. A web-based UI for setting up, managing, and monitoring the Migration and Disaster Recovery solutions.. .
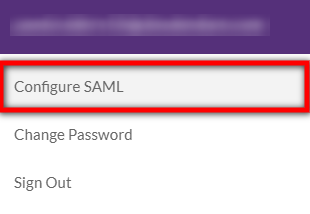
"Bookmark this link and use it to regain access…" text. 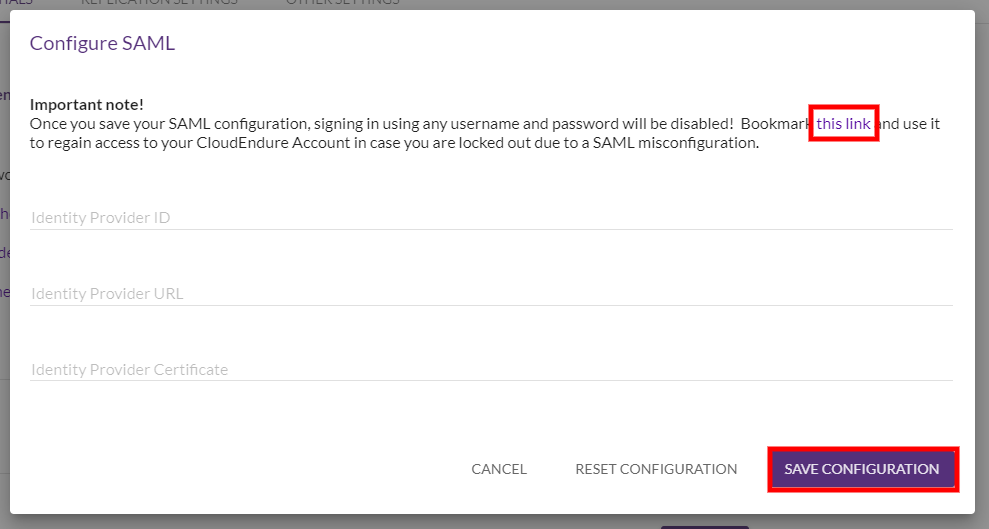

Once SAML integration is configured, you can sign in to the CloudEndure User ConsoleCloudEndure SaaS User Interface. A web-based UI for setting up, managing, and monitoring the Migration and Disaster Recovery solutions. either through the CloudEndure User ConsoleCloudEndure SaaS User Interface. A web-based UI for setting up, managing, and monitoring the Migration and Disaster Recovery solutions. Sign In page or through a direct login link.
Note: You will no longer be able to sign into the User Console with your username and password after configuring SAML.
Note: Make sure to bookmark the rescue link found in the Bookmark this link and use it to regain access… text.
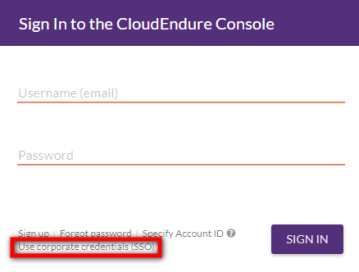
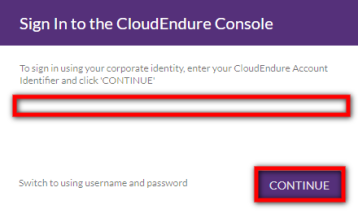
Note: For your convenience, the Use corporate credentials settings will be remembered by your browser. The next time you log in, the corporate identity page will automatically show and your Account Identifier will be pre-filled for you.
Alternatively, you can navigate directly to https://console.cloudendure.com/#/signIn?accountIdentifier=XXXXXXXXXX (replace XXXXXXXXXX with your CloudEndure AccountThe entity that signed up with CloudEndure. Identifier.)
This link will immediately redirect you to the login screen of your Identity Provider. After logging in with your Identity Provider, you will be automatically redirected into the CloudEndure User ConsoleCloudEndure SaaS User Interface. A web-based UI for setting up, managing, and monitoring the Migration and Disaster Recovery solutions. as a signed in user.
©2020 COPYRIGHT CloudEndure - Terms of Service - Privacy Policy - AWS Vulnerability Reporting Guidelines - Report a Security Issue